MA35D1 Yocto 安裝說明
MA35D16A887C (BGA312) MCP package with DDR3L (256 MB)
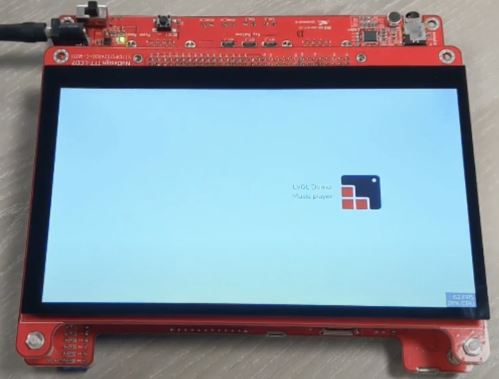
7-inch TFT LCD (1024x600) with touch daughter board
eMMC memory device daughter board
SPI-NAND flash W25N02JWZEIF (256MB)
NAND flash W29N01HVS1NA (128MB)
2 x Giga Ethernet
2 x High Speed USB
2 x Camera Capture (CMOS sensor) header connectors
1 x SIM Card slot
2 x UART, 2 x RS485, 2 x CAN-FD, 8 x EADC channels
基本安裝設定
Yocto 項目至少需要 150G 存儲
在使用 Yocto 項目之前必須安裝必要的包
$ sudo apt-get install gawk wget git-core diffstat unzip texinfo gcc-multilib \
   build-essential chrpath socat cpio python python3 python3-pip python3-pexpect \
     xz-utils debianutils iputils-ping libsdl1.2-dev xterm curl
Update existing list of packages
$ sudo apt-get update
Install a few prerequisite packages which let apt use packages over HTTPS
$ sudo apt install apt-transport-https ca-certificates curl software-properties-common
Add Docker’s official GPG key for the official Docker repository to your system
$ curl -fsSL https://download.docker.com/linux/ubuntu/gpg | sudo apt-key add
Set up the stable repository, add the Docker repository to APT sources
$ sudo add-apt-repository "deb [arch=amd64] https://download.docker.com/linux/ubuntu focal stable"
Update the package database with the Docker packages from the newly added repo
$ sudo apt-get update
Install Docker
$ sudo apt-get install docker-ce docker-ce-cli containerd.io
Download the Docker Script for MA35D1
$ git clone https://github.com/OpenNuvoton/MA35D1_Docker_Script.git

Enter docker-yocto folder, setup docker image, and select folder to be share
$ ./build.sh                             It may take one hour to get 710 files.
Please enter absolute path for shared folders(eg:/home/<user name>) :
Enter docker image, and your command line head will be like nuvoton@a24d9e06abe3:~$
$ ./join.sh
nua3500_nuvoton
nuvoton@a24d9e06abe3:~$
Create a folder name yocto under /share
nuvoton@a24d9e06abe3:~/share$ mkdir yocto
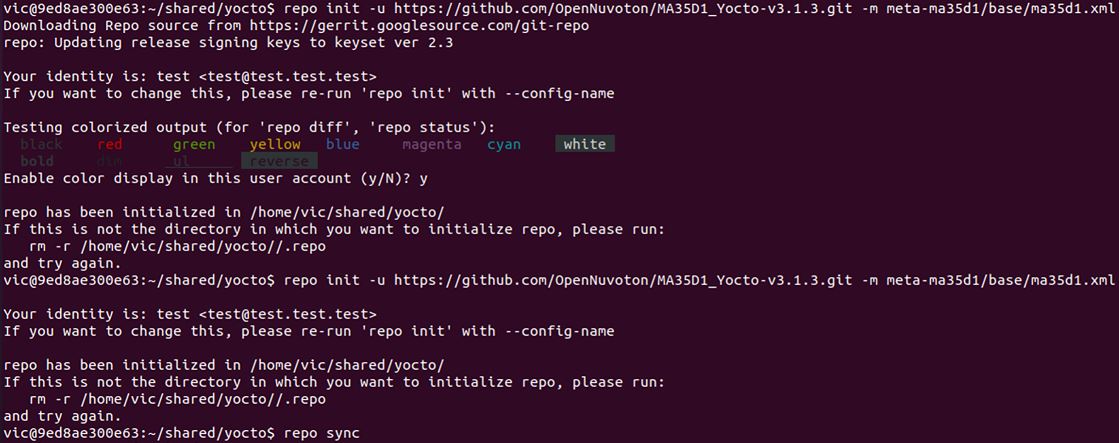
The first time you use repo, you need to set up the GIT environment
nuvoton@a24d9e06abe3:~/share/yocto$  git config --global user.email "test@test.test.test"
nuvoton@a24d9e06abe3:~/share/yocto$  git config --global user.name "test"
nuvoton@a24d9e06abe3:~/share/yocto$  git config --global http.sslverify false
Go to /share/yocto to setup repo path
nuvoton@a24d9e06abe3:~/share/yocto$ repo init -u https://github.com/OpenNuvoton/MA35D1_Yocto-v3.1.3.git -m meta-ma35d1/base/ma35d1.xml
Download the yocto project
nuvoton@a24d9e06abe3:~/share/yocto$ repo sync
Build Image by Yocto
Setup building configuration. The DISTRO option we usually use nvt-ma35d1-directfb
EVB :
~/yocto$ DISTRO=nvt-ma35d1-directfb MACHINE=ma35d1-evb source sources/init-build-env build
SOM :
~/yocto$ DISTRO=nvt-ma35d1-directfb MACHINE=numaker-som-ma35d16a81 source sources/init-build-env build
MACHINE 目前有 SOM 板 或 IOT 板,後面ma35d16a81是 板號,所以客戶可以做他自己的板子,用自己得板號。
MACHINE=numaker-som-ma35d16a81
MACHINE=numaker-iot-ma35d16f70 ( f7 => DDR 128MB )
MACHINE=numaker-iot-ma35d16f90 ( f9 => DDR 512MB )
test chip SOM :
~/yocto$ DISTRO=nvt-ma35d1-directfb MACHINE=ma35d1-tc-som source sources/init-build-env build
(補充說明) 假設我要改build 不同的板號,從numaker-som-ma35d16a81 改成 numaker-iot-ma35d16f70,有兩個地方要改
- local.conf 的 Machine 要改如下
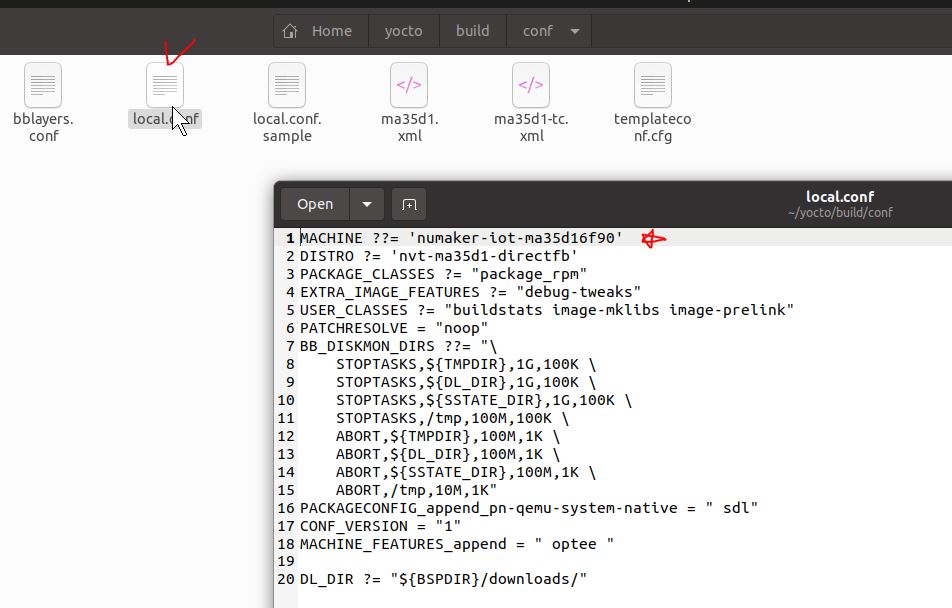
- 指定編譯 DISTRO=nvt-ma35d1-directfb MACHINE=numaker-iot-ma35d16f70 source sources/init-build-env build
Choose what Image you want to build
Image 包含Qt的版本 (建議)
bitbake nvt-image-qt5
小 Image 版本
bitbake core-image-minimal
Copy the image to SD
$ sudo dd if=nvt-image-qt5-evb-ma35d1-xxxxx.rootfs.sdcard of=/dev/sdb status=progress

Fast Application Development
Make a toolchain installer
$ bitbake nvt-image-qt5 -c populate_sdk
(This may take about 1 hour )
Go to the following path and execute the shell file
~build/tmp-glibc/deploy/sdk $ ./oecore-x86_x64-aarch64-toolcahin-5.5-dunfell.sh

Add toolchain to environment variables
$ source /usr/local/oecore-x86_64/environment-setup-aarch64-poky-linux
Create the source code file for this example: helloworld.c
#include <stdio.h>
int main() {
    // printf() displays the string inside console
    printf(“Hello, World!\n”);
    return 0;
}
Compile it
$ $CC helloworld.c -o helloworld